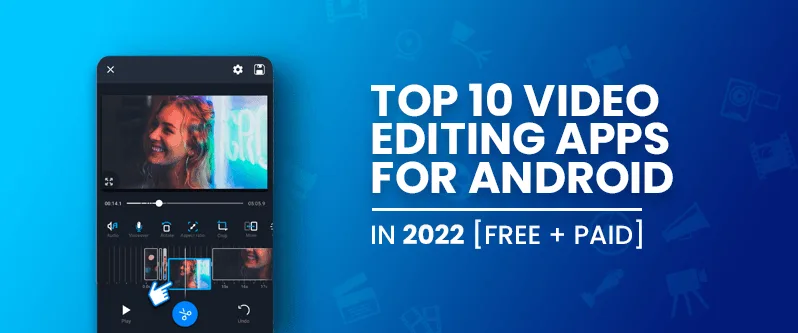

Top 10 Best Mobile Phone Video Editing Apps for Musical Videos: How To Use Them
Written by Gossiphome TV | Latest Technology Updates on Gossiphome.ng
Creating high-impact, visual-heavy music videos no longer requires a million-dollar studio or a high-end desktop setup. With modern smartphones packing incredible camera systems and powerful processors, mobile video editing apps have evolved into professional-grade production tools.
Whether you are an emerging artist, an indie director, a content creator, or a music marketer, having the right mobile editing app allows you to cut beats, sync lyrics, apply cinematic color grading, and add stunning visual effects—all right from your palm.
In this guide, Gossiphome TV breaks down the top 10 mobile phone video editing apps for musical videos and provides step-by-step instructions on how to use them effectively.
Quick Overview: Top 10 Mobile Music Video Editors
AppKey StrengthBest ForPlatform
| 1. CapCut | Auto beat-syncing & trending effects | TikTok / Reels trendsetters | iOS & Android | ||||||||||
| 2. VN Video Editor | Multi-track timeline & speed ramping | High-end visual storytelling | iOS & Android | ||||||||||
| 3. KineMaster | Multi-layer chroma key & audio control | Precision multi-cam editing | iOS & Android | ||||||||||
| 4. InShot | Quick edits & social aspect ratios | Short-form music promo clips | iOS & Android | ||||||||||
| 5. PowerDirector | Motion tracking & visual masking | Action-packed music videos | iOS & Android | ||||||||||
| 6. LumaFusion | Pro-level multi-track editing | Professional mobile filmmakers | iOS & Android | ||||||||||
| 7. Alight Motion | Keyframe animation & motion graphics | VFX & animated lyrics | iOS & Android | ||||||||||
| 8. Funimate | Freestyle animations & transition loops | Energetic dance & hip-hop clips | iOS & Android | ||||||||||
| 9. Filmora Mobile | AI audio ducking & smart cutouts | Quick stylized music edits | iOS & Android | ||||||||||
| 10. Splice | Intuitive beat alignment & audio trimming | Clean performance cuts | iOS & Android |
1. CapCut
Best Overall for Trend-Driven & Sync-Heavy Music Videos
CapCut remains one of the most popular video editing platforms globally. Owned by ByteDance, it is packed with built-in music tools, automatic beat detection, speed ramping, and optical flow slow-motion features tailored specifically for music videos.
Key Features
- Auto Beat Detection (“Beats” feature to auto-generate markers).
- High-grade Speed Ramping (Smooth slow-mo & velocity edits).
- Smart AI cutout, background removal, and body effects.
ALSO READ: Top 10 High-value Degrees in China (And Best Universities to Apply)
How To Use CapCut for a Music Video
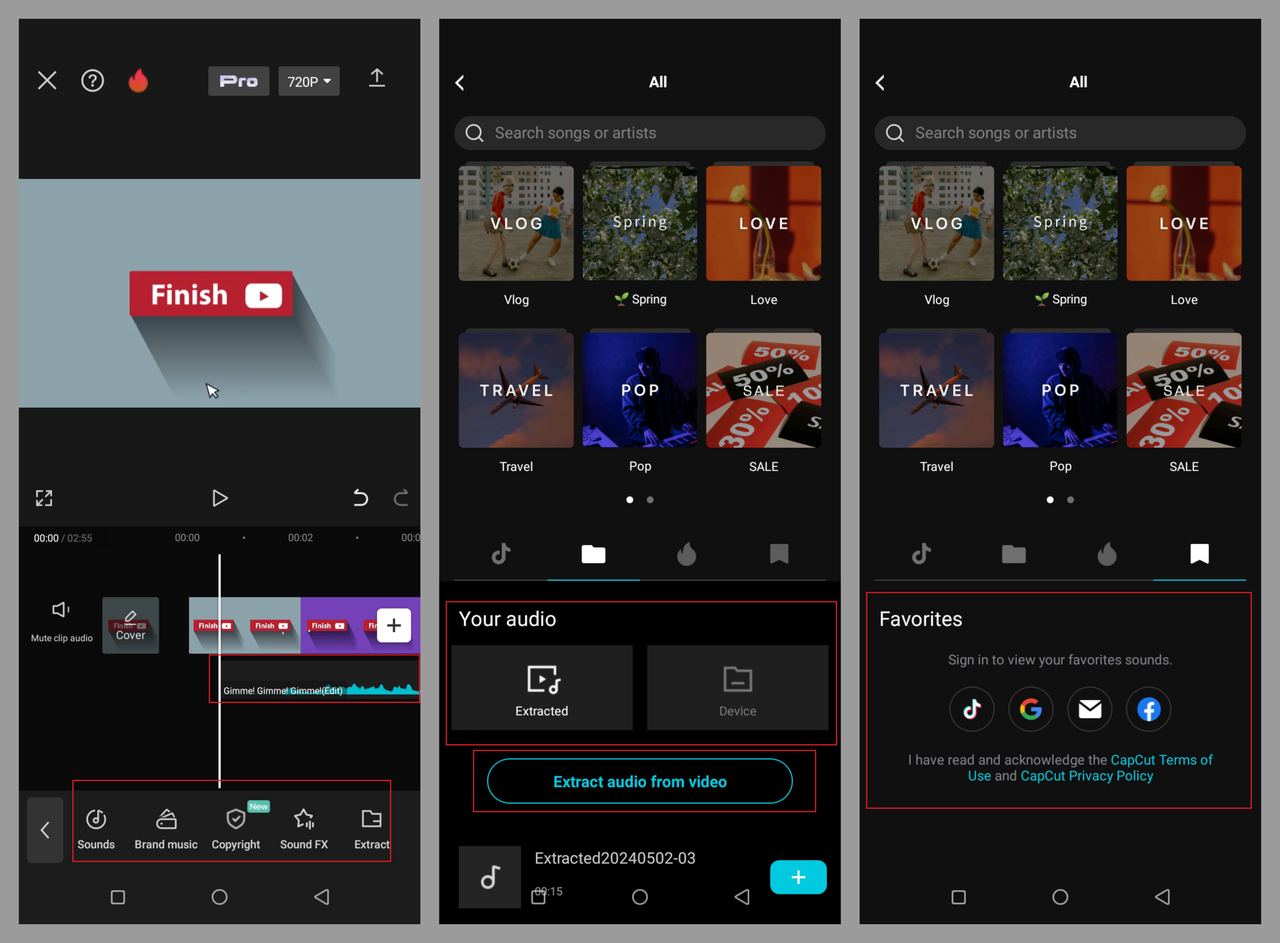
- Import Track & Footage: Open CapCut, tap New Project, and load your raw video performance clips alongside your main audio track.
- Auto-Mark Beats: Tap on your audio track, select Beats, and choose Auto generate (Beat 1 or Beat 2). This places yellow markers on major beat drops.
- Cut to the Beat: Align your performance cuts and scene switches directly with those yellow markers for a seamless rhythm.
- Apply Velocity Ramping: Select a video clip, tap Speed > Curve > Custom, and adjust the curve points to speed up or slow down motion in sync with song build-ups.
- Export: Tap the top-right resolution menu, set to 1080p or 4K at 60fps, and export.
2. VN Video Editor (VlogNow)
Best for Clean, Professional & Watermark-Free Edits
VN Video Editor provides an ultra-clean timeline UI that resembles desktop NLEs (like Premiere Pro or Final Cut) without forcing a watermark on your final render.
Key Features
- Curved speed controls for rhythmic speed ramping.
- Full LUT support for custom cinematic color grading.
- Multi-track audio and video overlay options.
How To Use VN Video Editor
- Set Up Timeline: Import your main audio track first to establish your project length.
- Overlay Performance Tracks: Add your B-roll and lip-sync performance shots onto the primary timeline tracks.
- Apply Speed Curves: Select a performance cut, tap Speed, and choose Curve. Drag points to create sudden fast-forwards or slow-mo drops matching the beat.
- Color Grade with LUTs: Tap Filters, upload your custom
.cubeLUT file (or choose built-in presets), and adjust contrast/saturation for a cinematic visual style.
3. KineMaster
Best for Chroma Key (Green Screen) & Detailed Layering
KineMaster is a pioneer in mobile editing, offering precise frame-by-frame control, multi-layered video overlays, and advanced chroma key compositing.
Key Features
- Powerful Chroma Key engine for green screen visual backgrounds.
- Multi-channel audio mixer with pitch shift and volume envelopes.
- Precision trimming down to individual frames.
How To Use KineMaster
- Establish Background: Import your main background video/graphic on the primary track.
- Add Green Screen Artist Footage: Tap Layer > Media and import your green screen performance video over the primary track.
- Enable Chroma Key: Select the layered green screen clip, scroll down the side menu to Chroma Key, hit Enable, and fine-tune key color masking until the background drops out smoothly.
- Audio Balance: Use the Volume Envelope tool to raise or drop specific sections of your audio during intro skits or beat switches.
4. InShot
Best for Fast Social Media Music Snippets & Reels
When you need to edit a quick 30-second music promo clip for Instagram Reels, TikTok, or YouTube Shorts, InShot gets the job done faster than almost any other editor.
Key Features
- Quick aspect ratio switches (9:16, 16:9, 1:1).
- Built-in sound effects, voiceovers, and music importer.
- Simple transition triggers and canvas background effects.
ALSO CHECK: Top 10 Tech Investments for Young Adults Under 30 (2026 Guide)
How To Use InShot
- Choose Canvas Ratio: Open InShot, select Video > New, choose your clips, and set the Canvas to
9:16(vertical video). - Import Music: Tap Music > Tracks > My Music and import your official song file.
- Trim Performance: Split clips at energetic vocals or beat drops using the Split tool.
- Add Visual FX: Tap Filter > Effect > Glitch / Beat to add light flashes or screen shakes on specific snare hits.
5. PowerDirector
Best for Motion Tracking & Dynamic VFX
PowerDirector brings desktop-class tools like AI motion tracking and keyframe opacity controls into a mobile-friendly interface.
Key Features
- AI Motion Tracking to attach text or visuals to a moving artist.
- Blending modes for double-exposure visual effects.
- 4K export support with high bitrate settings.
How To Use PowerDirector
- Import Media: Load your music video performance scenes.
- Apply Motion Tracking: Tap Motion Tracking, place the tracker box on your artist’s face or hand, and press Track.
- Attach Text/Graphics: Link animated song lyrics or graphic overlays directly to the motion tracking anchor point so they move in sync with the performance.
- Blend Overlays: Layer light leaks or film grain over the top track and select Blending Mode > Screen for an organic film look.
6. LumaFusion
Best for High-End Mobile Filmmakers (iOS & Select Android)
LumaFusion is a professional, studio-grade video editor. While it requires a paid license, it supports up to 6 video/audio tracks, advanced color correction, and external display monitoring.
Key Features
- 6-track timeline supporting 4K HDR footage.
- Detailed color correction wheel and spatial audio adjustments.
- XML export capabilities to desktop software (DaVinci Resolve / Final Cut Pro).
How To Use LumaFusion
- Sync Audio: Import audio stems or master tracks, then sync multiple performance camera angles using audio waveforms on separate timeline tracks.
- Multicam Cut: Toggle visibility/mute across video tracks to cut between close-ups, wide shots, and dance angles while keeping audio perfectly aligned.
- Color Grading: Use the color wheel to balance highlights, midtones, and shadows to match different scenes across the video.
7. Alight Motion
Best for Motion Graphics, Animated Lyrics & Visual Effects
If your music video relies heavily on animated text, complex transition effects, or vector graphics, Alight Motion is the industry standard on mobile devices.
Key Features
- Keyframe animation support for every single layer attribute.
- Custom vector and bitmap editing directly in-app.
- Grouping, masking, and visual particle engines.
How To Use Alight Motion
- Add Lyrics: Type song lyrics over your performance clips.
- Set Keyframes: Tap the Keyframe icon on the lyric layer. Set start/end positions, scale, and opacity values to animate lyrics floating, exploding, or fading in sync with the vocals.
- Create Custom Transitions: Animate clip scale and rotation parameters across transitions using custom bezier movement curves.
8. Funimate
Best for High-Energy Dance & Urban Music Videos
Funimate focuses heavily on loop effects, neon glow outlines, and stylized transition cuts that work exceptionally well for dance videos, Afrobeats routines, and hip-hop visuals.
Key Features
- Auto AI body outlines and neon light trails.
- Custom transition creation library.
- Overlay masks and keyframe animation tools.
How To Use Funimate
- Import Dance Clip: Import your main performance/dance sequence.
- Apply Body AI Effects: Select AI Effects > Body Outline to add glowing, pulsing light outlines around the dancer that react to motion.
- Add Beat Transitions: Use Flash or Zoom transitions right on the beat drops for rapid visual movement.
9. Filmora Mobile
Best for AI-Powered Editing & Smart Cutouts
Wondershare’s Filmora Mobile integrates smart AI features that drastically reduce the time spent manually cropping, trimming, or keyframing audio tracks.
Key Features
- Smart AI Cutout (removes backgrounds without green screens).
- Auto Audio Ducking and beat matching.
- Large library of royalty-free sound effects and overlays.
CHECK ALSO: Top 10 Transformative Habits Under 30 | Youth Development Tools
How To Use Filmora Mobile
- Import Media: Load your music video project files.
- AI Cutout: Select a secondary performance clip, tap Smart Cutout, and trace the artist. Filmora will isolate the artist from the background automatically.
- Layer Text Behind Artist: Place animated lyrics between the background video layer and the cutout artist layer for a 3D depth effect.
10. Splice
Best for Simple, Clean Music Video Production
Developed by GoPro and refined over years, Splice delivers a clean workflow built around rhythm, precise trimming, and clean audio integration.
Key Features
- Intuitive waveform trim controls.
- Built-in dynamic music/sfx sync library.
- Speed ramping and color adjustments.
How To Use Splice
- Import Track & Shots: Load your master audio and order your B-roll performance clips on the timeline.
- Trim to Waveform: Pinch to zoom into the master audio track waveform to locate exact drum hits, snares, or vocal cues, then snap your clip transitions straight to those points.
- Apply Filters: Select clip-wide cinematic filters to unify color grading across all your disparate clips.
Pro Tips for Editing Music Videos on Mobile
- Shoot at High Frame Rates: For smooth slow-motion shots, shoot performance clips in 4K at 60fps or 120fps, then slow them down on a 24fps or 30fps editing timeline.
- Use Headphones: Always edit audio level transitions and beat cuts with quality headphones to catch precise transients and bass hits.
- Lock Your Sync Point: Before cutting up a lip-sync performance track, ensure the video clip is aligned 100% with the audio track from start to finish.
- Export in High Bitrate: Choose high bitrate export settings (or 1080p/4K @ 60fps) to avoid heavy compression artifacts when uploading to YouTube, Instagram, or TikTok.
Stay Updated with Gossiphome TV
For more modern technology updates, production tips, and entertainment news, visit Gossiphome.ng and follow Gossiphome TV across social media!


Pingback: Advanced Mobile Music Video Editing: Pro Color Grading, Audio Sync & VFX Secrets - Gossiphome TV