
Advanced Mobile Music Video Editing Techniques: Pro Secrets for Cinematic Visuals
Written by Gossiphome TV | Latest Technology Updates on Gossiphome.ng
In our previous guide on Gossiphome TV, we covered the Top 10 Best Mobile Phone Video Editing Apps for Musical Videos. Now that you know which apps to use, it is time to master how to edit like a seasoned director using just your smartphone.
Editing a music video is significantly different from editing a standard vlog or social media clip. Music videos rely heavily on rhythm, pacing, visual cohesion, and color mood to evoke emotion.
Whether you are cutting an Afrobeats visualizer, a high-energy drill video, or a soulful acoustic performance, here are the advanced mobile music video editing techniques that will transform your raw smartphone footage into a cinematic masterpiece.
1. Master Audio-Visual Synchronization (Lip-Syncing)
The most common rookie mistake in mobile music videos is poor lip-syncing. Even a tiny 3-frame offset between the audio track and the singer’s lips will instantly ruin the viewer’s immersion.
The “Clapperboard” Method on Mobile
- On Set: Always play the master playback track loudly during filming. Have the artist clap their hands together right before singing.
- On Timeline: Look at the audio waveform of your recorded clip. Find the sharp transient peak created by the clap and match it directly with the reference spike on your master audio track.
- Lock & Cut: Once synced, group or lock the video to the primary audio track before making any split edits.
2. Dynamic Speed Ramping (Velocity Edits)
Speed ramping—transitioning smoothly between slow-motion and fast-forward—is an essential technique for modern dance and performance videos.
Normal Speed (100%) ---> Sudden Slow-Mo (25% on Bass Drop) ---> Fast Forward (200% transition)
How to Execute Ramping Effectively
- Shoot in 60fps or 120fps: Never slow down 24fps or 30fps footage; it will result in choppy, unnatural motion.
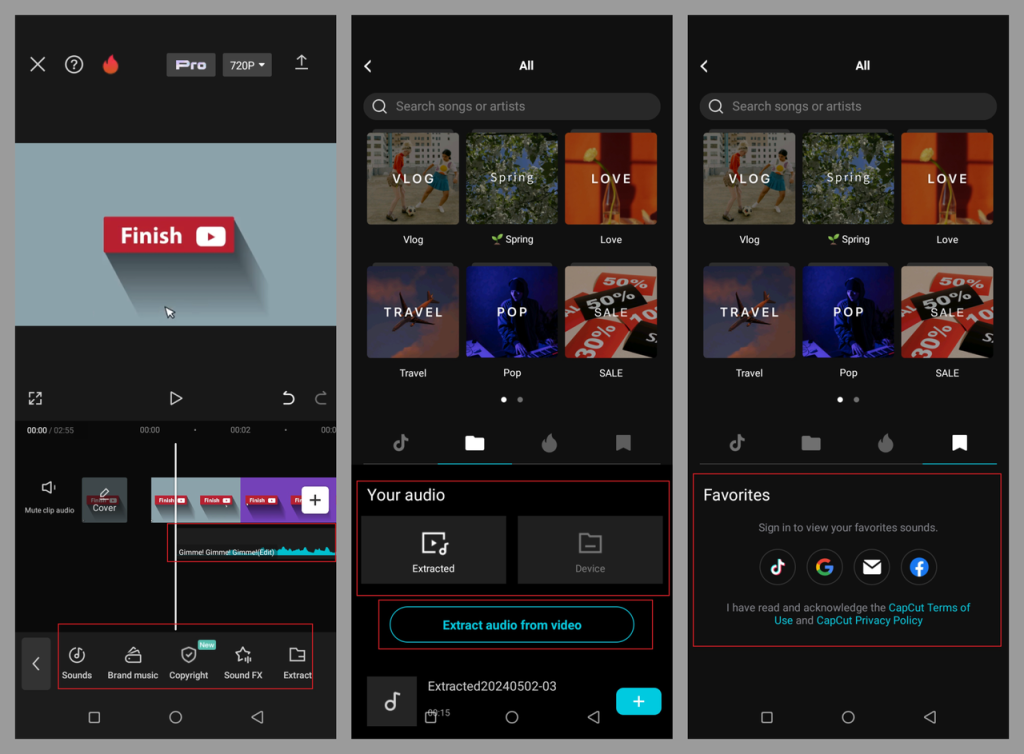
- Use Speed Curves: In apps like VN Editor or CapCut, avoid static “Smooth Slow-Mo.” Use the Curve Speed editor to create steep drops right as the snare or bass hits.
- Enable Optical Flow / Motion Blur: If your frame rate drops, turn on Optical Flow interpolation or add subtle Motion Blur to smooth out keyframe jumps.
MUSIC DOWNLOAD: Ynb 2nice Unleashes Hip-Hop Trap Anthem “Obodo Freestyle” | Listen Now
3. Cinematic Color Grading with Mobile LUTs
Straight-out-of-camera (SOOC) smartphone video often looks flat, over-sharpened, or unnaturally saturated. To give your music video a filmic look, you must establish a unified color grade across all scenes.
Step-by-Step Mobile Color Grading
- Step 1: Exposure & Contrast Balance
- Lower the Highlights slightly to preserve detail in skies or bright background lights.
- Lift the Shadows slightly if detail is lost in the darks.
- Step 2: HSL Adjustments (Hue, Saturation, Luminance)
- Isolate skin tones (orange/red channels) and ensure skin tones look natural before altering background colors.
- Desaturate distracting background colors (e.g., bright green trees or harsh blue signs) to keep focus on the artist.
- Step 3: Apply Custom LUTs (
.cubefiles)- Load professional Look-Up Tables (LUTs) into VN Editor, CapCut, or LumaFusion.
- Set the LUT intensity between 40% – 70%—never leave it at 100% to avoid artificial color clipping.
4. Multi-Layer Blending & Double Exposure Effects
Double exposure overlays create dreamlike, psychological visuals that work exceptionally well during bridges, solos, or intros.
How to Create a Double Exposure Look
- Place your primary performance shot on Track 1.
- Add a secondary scene (e.g., light leaks, city lights, or close-ups) directly above it on Track 2.
- Select the overlay on Track 2 and navigate to Blending Modes.
- Choose Screen (to combine light areas) or Overlay (for rich contrast).
- Reduce the opacity to around 50%–70% and apply keyframes to fade the effect smoothly in and out.
READ ALSO: Top 10 Most Valuable Degrees in Kuwait and Top Institutions to Study Them
5. Professional Audio Mixing & Sound Design
A great music video isn’t just the studio song playing over pictures. Incorporating ambient sound design elevates the cinematic storytelling.
| Element | Purpose | Mobile Implementation |
|---|---|---|
| Foley & Sound FX | Adds weight to visual actions | Layer swooshes on camera transitions & sub-drops on beat hits |
| Intro/Outro Ambience | Establishes the music video universe | Keep environmental audio (footsteps, rain, car engines) at 15–20% volume |
| Audio Ducking | Ensures dialogue/skits are clear | Automatically lowers song volume during intro dialogue scenes |
6. Export Settings for Maximum Quality
Social media platforms like Instagram, TikTok, and YouTube heavily compress uploaded videos. To retain maximum crispness from your mobile edit, use these target render parameters:
- Resolution:
1080p(or4Kif uploading to YouTube) - Frame Rate:
24fpsfor a traditional movie look, or60fpsfor crisp dance/performance videos - Bitrate: High (Custom bitrate between
15 Mbps–25 Mbpsfor 1080p) - Format:
MP4(H.264codec) for universal compatibility
Final Thoughts from Gossiphome TV
Creating a standout music video on a mobile phone requires combining the right software tools with disciplined editing fundamentals. Focus first on tight sync and clean cuts, then layer in speed curves, cinematic LUTs, and sound design to make your visuals jump off the screen.
Stay tuned to Gossiphome.ng for the latest technology updates, mobile filmmaking tutorials, and creative trends!